Cookies, Favorite Bakes

Simple Petite Glazed Lemon Cookies

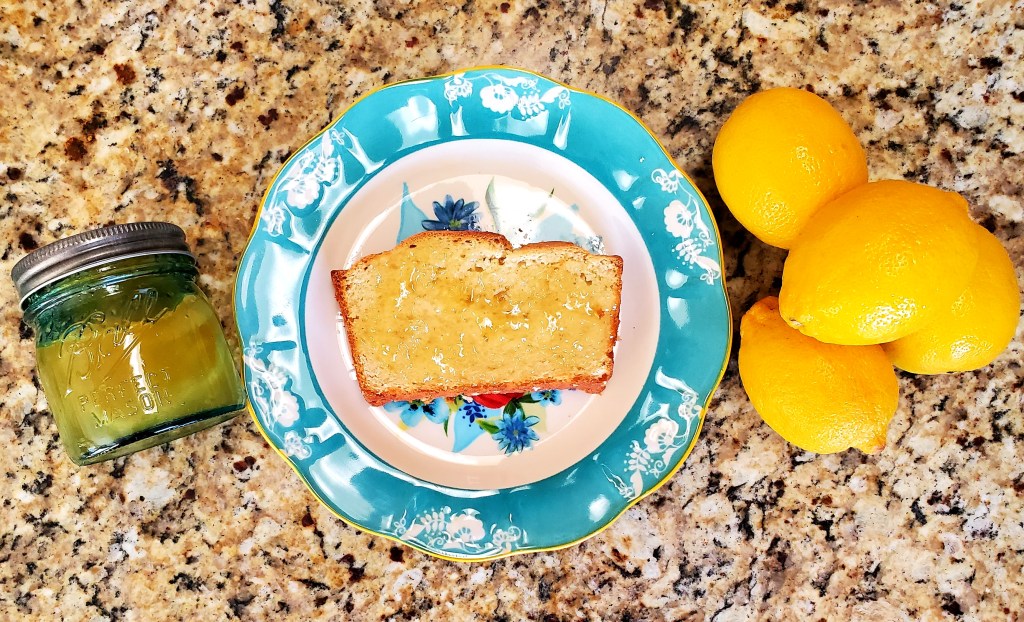
One of my favorite things to do during the summer is soak up the sun at Barton Springs Pool in Austin TX. For this weeks blog I was dreaming of those warmer days by the pool and wanted to do a bake that was fresh and tiny but packed a huge flavor. The recipe below is easy, delicious and full of sunshine; one bite will make you feel like you’re poolside on a grassy hill soaking up the warm rays of summer. Don’t forget to keep reading to my dos and don’ts that I did to find out why this recipe might be the easiest bake I’ve ever made.

Ingredients

1 cup all purpose flour

1/3 cup sugar

2 tablespoons lemon zest, finely grated

7 tablespoons unsalted butter cut into cubes

1 egg yolk

3 teaspoons ice water

Ingredients for Glaze

1 cup powdered sugar

1/4 cup of fresh lemon juice

Directions for Cookies

In a large mixing bowl combine flour, sugar and lemon zest.

Cut in chilled butter using a pastry blender until mixture looks like coarse crumbs.

Add in egg yolk using a fork until blended.

Using your hands gently knead the dough.

Add ice water 1 teaspoon at a time and continue kneading the dough until a ball forms.

Once a ball has been formed cut the dough in half.

Roll each half into a log about 1 inch in diameter.

Wrap logs in plastic and allow them to chill in freezer for 30 minutes.

Preheat oven to 350 degrees.

Remove logs from freezer, unwrap and slice into 1/4 inch rounds using a serrated knife.

Place cookies on lined baking sheet and bake for 10 minutes.

Transfer to wire rack and let cool completely.

Directions for Glaze

Place powdered sugar into bowl and add lemon juice.

Whisk until smooth and syrupy.

Submerge cooled cookies into glaze top side down and return to cooling rack. Repeat this step 2 more times for a thicker glaze.

Tips and Tricks and a few Don’ts that I did

These cookies are so easy that the scariest part was rolling the dough. Even that part is as simple as playing with playdough. You literally just roll it on a lightly floured surface between your hands and the counter. Wrap it, freeze it and bake it. It could not be any easier.

You don’t have to make both logs if you’d like to save one. It can be kept in the freezer for at least a month, but trust me you’ll want to bake it sooner than that. These cookies may be small but they are addictive. I ate the first batch by myself in two days and only shared two. They are seriously that good.

Play with the flavor of the glaze. If you don’t want a punch of lemon flavor, you can add less juice to your sugar.

That’s it. Very few don’ts that I did and so simple I don’t have many tips or tricks. These cookies are tiny in size but mighty in flavor and incredibly easy. I’ll be eating these a lot this spring and summer. I hope you will be too! Enjoy!

Favorite Bakes, Tarts

Easy Lemon Vanilla Tart

This week it’s pastry week at Mae Bakes! I’ve watched a billion shows about making tarts and thought why not give it a whirl? I’m still on a lemon kick from jam week (I’m always on a lemon kick, my love for lemons runs deep) so I decided my first ever tart would be a lemon tart. Just to prepare you pastry is not easy, but it sure is rewarding when you get it right. Check out the recipe below and keep reading to my donts that I did to find out why the biggest mistake I made baking this week had nothing to do with the recipe.

Ingredients for Tart Pastry

1 1/4 cup flour

1/4 cup sugar

1/2 cup cold butter cut into chunks

2 egg yolks lightly beaten

1 tablespoon ice water

Directions for Tart Pastry

In medium bowl stir together flour and sugar. Using a pastry blender, cut in butter until pieces are pea size.

In a small bowl stir together eggs yolks and cold water.

Gradually stir in egg mixture to flour mixture.

Using fingers gently knead dough just until a ball forms.

Cover with plastic wrap and refrigerate for 45 minutes or until dough is easy to handle.

Preheat oven to 450 degrees.

On a lightly floured surface use your hands to slightly flatten pastry.

Roll pastry from center to edges into a circle about 11 inches in diameter.

Wrap pastry around rolling pin.

Unroll onto 9 inch tart pan that has a removable bottom.

Ease pastry onto pan without stretching it.

Press pastry into flattened sides of pan and trim edges.

Line pastry with double thickness foil and bake for 8 minutes.

Remove foil and bake for 6-8 minutes or until golden brown.

Cool on wire rack.

Reduce oven temperature to 350 degrees.

Tart Filling Ingredients

2 lemons

1/2 cup sugar

1 tablespoon flour

2 eggs

1 tablespoon vanilla

Tart Filling Instructions

Finely shred 4 teaspoons of lemon peel and set aside.

Squeeze lemons for 6 tablespoons of juice and set aside.

In a medium bowl combine sugar and flour.

Add eggs and beat with electric mixer on high speed about 4 minutes or until light in color and slightly thickened.

Stir in 4 teaspoons of lemon peel.

Add lemon juice and vanilla.

Pour into baked tart shell.

Bake at 350 for 20-25 minutes or until filing is set and lightly browned.

Cool on wire rack.

Serve and Enjoy!

Tips and Tricks and a few Don’ts that I did

Go slow when adding the egg yolk mixture to your flour. The first time I made this tart I dumped it in all at once and it affected the flakiness of my crust.

Invest in a pastry blender. When I first heard about pastry blenders I thought they were actual blenders, as in something you plug into an outlet. They are not another kitchen appliance, but they are wonderful little hand tools that help you mix cold butter into flour in the best way. I still used my fingers at the end, but using one of these will help keep your butter cold in a way that warm hands obviously can’t. I’ve included a link to the one I have below. https://www.amazon.com/Spring-Chef-Professional-Stainless-Black-Medium/dp/B01CX1RIMQ/ref=sr_1_1_sspa?keywords=Pastry+blender&qid=1579753632&sr=8-1-spons&psc=1&spLa=

Don’t stress if your edges are a tad darker than the rest of your tart pastry. I researched for several hours, watched too many videos and read a whole bunch of tips about how to prevent burnt edges. About 98% of everything I read said to make a “shield” for your edges out of tin foil. I ended up tripling up the shields and my edges were still dark. Don’t let the color fool you, dark does not mean burnt. It still tasted amazing.

Do follow the time listed in the recipe and don’t over bake your tart. The instructions say until set. I missed that step and kept baking about 10 minutes longer than I was supposed to because I thought it wasn’t done. Even though my first one tasted fine, the second was AMAZING. Don’t forget, it’s not a cake it’s a tart, two very different textures.

And finally, one of the most important lessons I’ve learned so far on this adventure. Don’t take your bad day out on your bake (I like to refer to it as rage bake). I made the first tart when I was having an off day. Although I was doing something I loved to feel better I still rushed my bake and didn’t give it the attention I normally would have. The crust was not perfect, the texture wasn’t great and the taste was just okay. The second time I made it I took my time, put way more care into what I was doing and ended up enjoying the tart and the experience way more. The second tart was off the charts in every way (it’s been said it was my best bake yet). The crust was golden, the texture was beautiful and the taste was delicious. It may sound a little cheesy but I definitely think it had everything to do with how I felt while baking. I turned the first tart into a learning experience (mainly learning not to rage bake), but like I’ve said before, the more you bake the better you get. I’ve included a picture below to show you the differences in the two bakes.

The first one is the rage bake and the second is the calm and collected bake.

Don’t forget to ENJOY (the bake AND the experience)

Breads, Healthy Bakes

Easy Gluten Free Bread with Lemon Jam

Happy January! For this week’s bake I wanted to do something I thought I would never ever do. Make bread! And not just any bread, gluten free bread that tastes like regular delicious bread. Typically I try to avoid eating gluten (even though most of my bakes thus far are full of gluten) so I wanted a recipe that I could make weekly and also taste like it took hours to bake. The recipe below ticked all of those boxes… easy, gluten free and most importantly delicious.

Once I had the bread recipe perfected it was suggested that I make a lemon jam to go with it. I absolutely love lemon, but had never had lemon jam so I jumped at the chance to try and make it. I’m definitely tooting my own horn when I say this lemon jam recipe will knock your socks off. It’s the best jam I’ve ever eaten and luckily the recipe makes enough to share. It’s the perfect addition to the bread recipe below.

Ingredients for Gluten Free Bread

1 cup warm milk (110 degrees)

1/4 cup sugar

2 1/4 teaspoons active dry yeast

1 teaspoon salt

1/4 cup butter

2 large eggs

Directions For Gluten Free Bread

Combine milk, sugar and yeast in small bowl and set aside for 10 minutes to froth.

Combine gluten free flour blend and salt in stand mixer. Beat on low gradually adding yeast mixture until well combined.

Add butter and eggs, mixing and scraping the bowl until well combined. Increase speed to high and mix until very smooth.

Cover with clean kitchen towel and let rise in warm place for 1 hour.

Grease loaf pan. Stir dough and pour into pan. Loosely cover with greased food plastic wrap and let rise for 20-30 minutes or until just above edge of pan.

Heat oven to 350 degrees.

Bake for 45 minutes or until top is golden brown. Remove from pan and let cool on cooling rack.

Ingredients For Lemon Jam

8 lemons

1/2 cup lemon juice

2 cups sugar

6 cups of water to boil zest

3 cups of water to make jam

Directions for Lemon Jam

Grate 6 lemons into dutch oven.

Squeeze 4 of them to have 1/2 cup of lemon juice. Set lemon juice aside.

Slice 2 lemons thinly and add to dutch oven with zest.

Pour 2 cups of water over zest and lemon slices. Bring to a boil over medium heat and let simmer for 10 minutes.

Repeat this 2 more times. This will remove the bitterness of the lemon zest.

Add sugar, lemon juice and 3 cups of water over strained sliced lemons and lemon zest in dutch oven.

Bring to a boil over medium heat. Turn heat down to low and let simmer for 30 minutes stirring occasionally.

Turn heat completely off and let sit for 10 minutes. Jam will be runny, but it gets thicker as it cools.

Store jam in jars, place in refrigerator.

Once jam has set, slice the gluten free bread, spread with jam and enjoy!

Tips and Tricks and Don’ts that I did

The yeast mixture should be frothy, but don’t freak out if it’s not a volcano of froth. Your dough will still proof just fine.

I proof my bread in the window of my kitchen because I like the idea of the warm Texas sun helping with my bakes, but you don’t need a window to proof and most ovens these days have a proof feature. Any warm place in your kitchen is fine and if you don’t have a proofing setting, you can set your oven temperature to the lowest setting and use that to proof.

Don’t forget to grease your loaf pan. You’ll want to take it out of the pan once it’s baked to cool. If it’s greased properly it should slide right out.

Slice and freeze the bread for storage. I made the mistake of just freezing the entire loaf, but when I wanted to toast a slice I had to wait for it to defrost before I could cut into it. After you slice the bread add a piece of wax paper in between each slice. Store it in a storage bag in the freezer and grab a slice when needed. Easy Peasy.

Be really careful not to get your sugar, water, lemon mixture too hot when making the jam. My first batch basically turned into lemon flavored caramel because I overcooked and overheated it. You only need to bring it to a boil, do not let it boil for an extended period of time.

Don’t worry about the rinds or zest when putting your jam into jars. The rinds get really soft and somewhat sweet during the cooking process and they taste pretty good too.

The jam will be runny. The consistency is pretty much like runny jello. Do not worry. Once it’s cooled it will firm up and when you jar it and put it in the fridge it will firm up even more.

I really like lemon flavor and wanted it to stand out more than the sweetness, but if you’d prefer less lemon flavor and more sugar, feel free to cut down the lemon juice and add more water and a tablespoon more of sugar.

This bread is perfect for this jam and this jam is perfect for this bread, but you can enjoy them separately too. Make a turkey sandwich with the bread or add the jam to your favorite english muffin. Whatever you do, don’t forget to ENJOY!