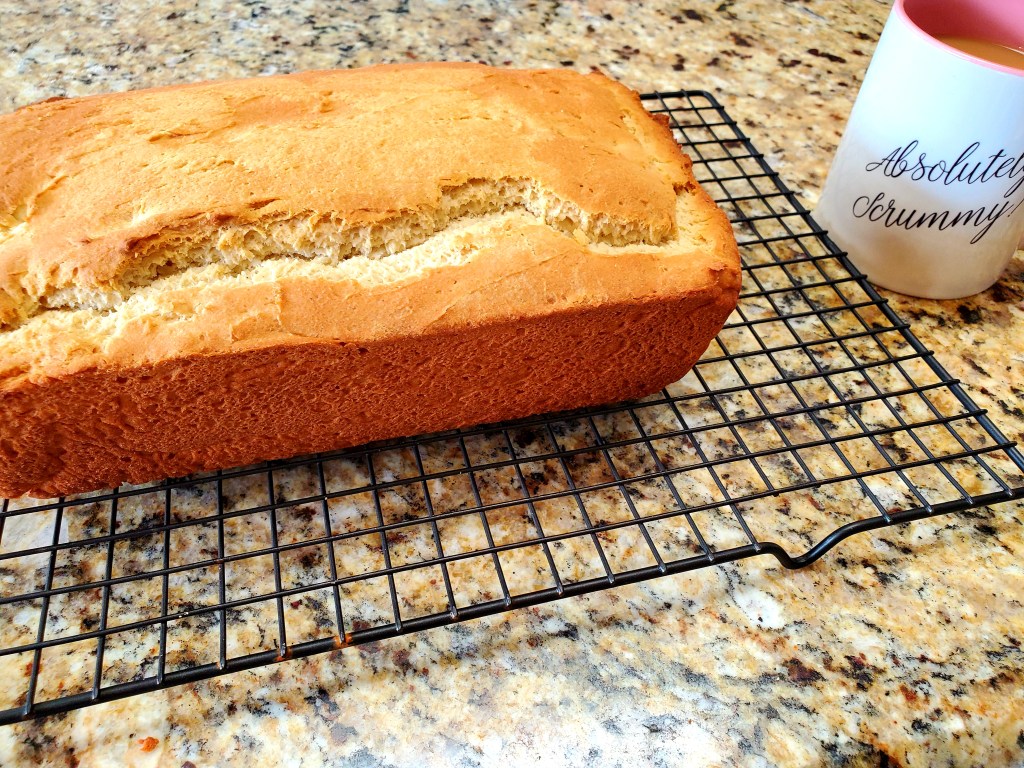
Happy January! For this week’s bake I wanted to do something I thought I would never ever do. Make bread! And not just any bread, gluten free bread that tastes like regular delicious bread. Typically I try to avoid eating gluten (even though most of my bakes thus far are full of gluten) so I wanted a recipe that I could make weekly and also taste like it took hours to bake. The recipe below ticked all of those boxes… easy, gluten free and most importantly delicious.
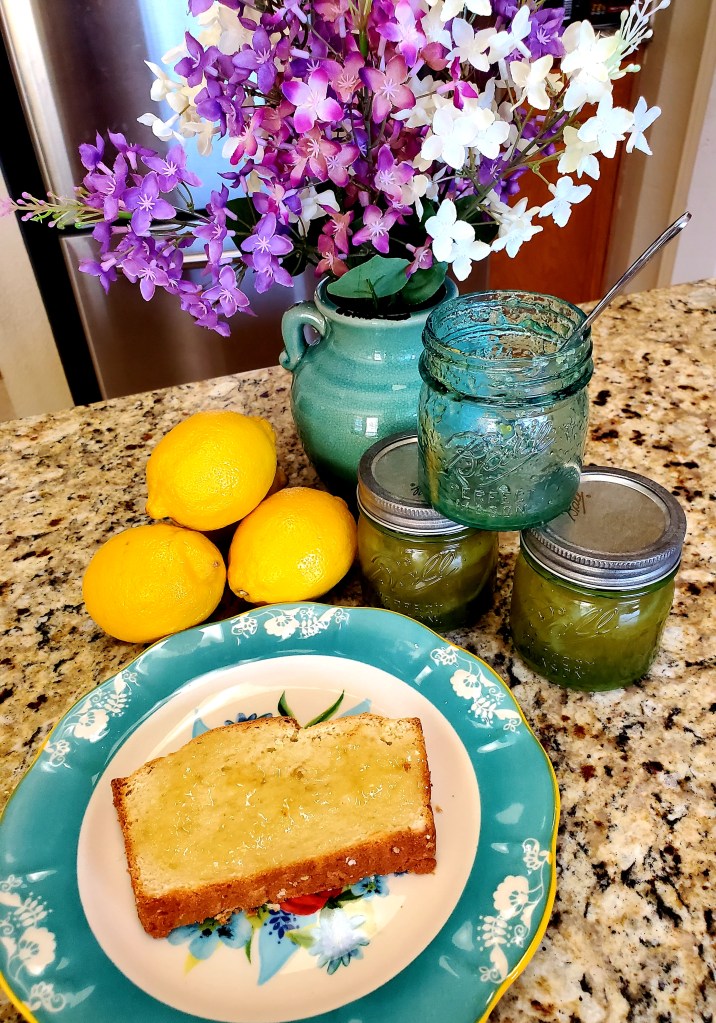
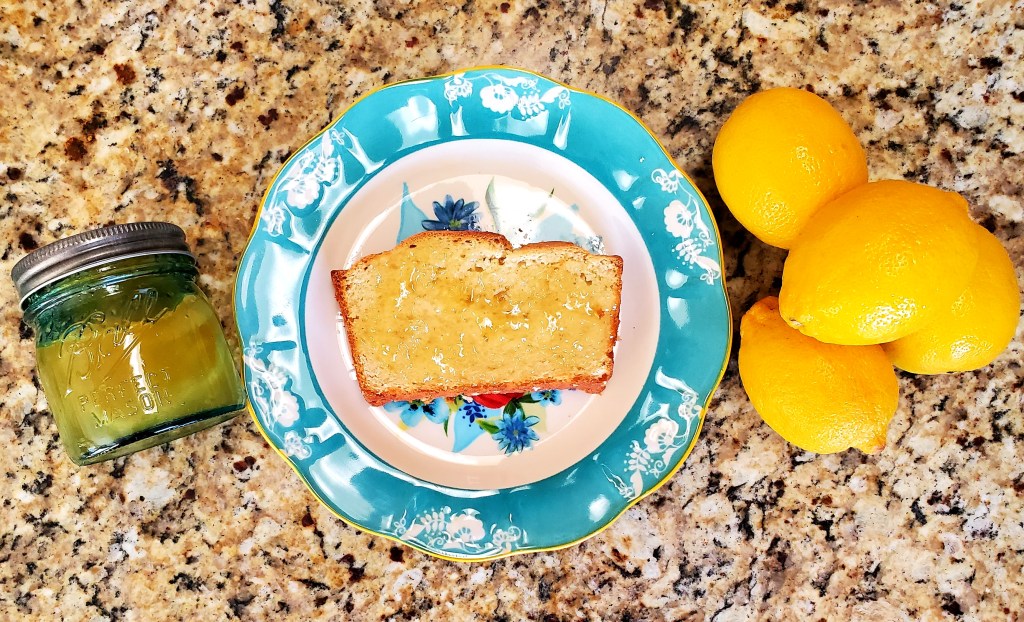
Once I had the bread recipe perfected it was suggested that I make a lemon jam to go with it. I absolutely love lemon, but had never had lemon jam so I jumped at the chance to try and make it. I’m definitely tooting my own horn when I say this lemon jam recipe will knock your socks off. It’s the best jam I’ve ever eaten and luckily the recipe makes enough to share. It’s the perfect addition to the bread recipe below.
Ingredients for Gluten Free Bread
1 cup warm milk (110 degrees)
1/4 cup sugar
2 1/4 teaspoons active dry yeast
1 teaspoon salt
1/4 cup butter
2 large eggs
Directions For Gluten Free Bread
Combine milk, sugar and yeast in small bowl and set aside for 10 minutes to froth.
Combine gluten free flour blend and salt in stand mixer. Beat on low gradually adding yeast mixture until well combined.
Add butter and eggs, mixing and scraping the bowl until well combined. Increase speed to high and mix until very smooth.
Cover with clean kitchen towel and let rise in warm place for 1 hour.
Grease loaf pan. Stir dough and pour into pan. Loosely cover with greased food plastic wrap and let rise for 20-30 minutes or until just above edge of pan.
Heat oven to 350 degrees.
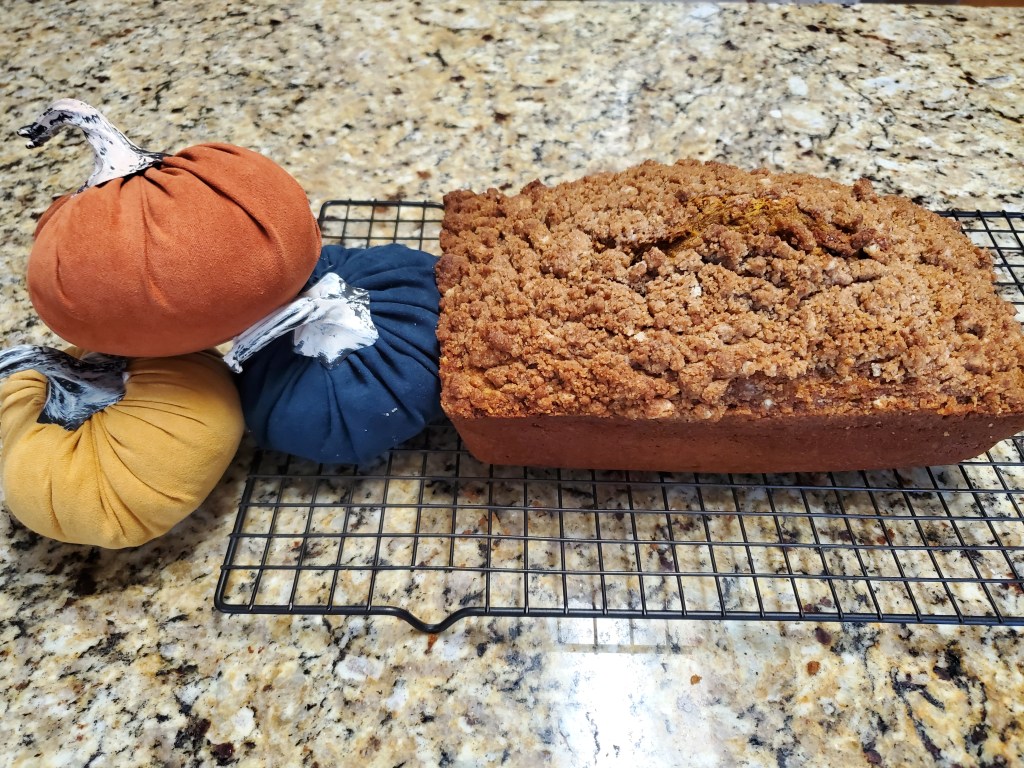
Bake for 45 minutes or until top is golden brown. Remove from pan and let cool on cooling rack.
Ingredients For Lemon Jam
8 lemons
1/2 cup lemon juice
2 cups sugar
6 cups of water to boil zest
3 cups of water to make jam
Directions for Lemon Jam
Grate 6 lemons into dutch oven.
Squeeze 4 of them to have 1/2 cup of lemon juice. Set lemon juice aside.
Slice 2 lemons thinly and add to dutch oven with zest.
Pour 2 cups of water over zest and lemon slices. Bring to a boil over medium heat and let simmer for 10 minutes.
Repeat this 2 more times. This will remove the bitterness of the lemon zest.
Add sugar, lemon juice and 3 cups of water over strained sliced lemons and lemon zest in dutch oven.
Bring to a boil over medium heat. Turn heat down to low and let simmer for 30 minutes stirring occasionally.
Turn heat completely off and let sit for 10 minutes. Jam will be runny, but it gets thicker as it cools.
Store jam in jars, place in refrigerator.
Once jam has set, slice the gluten free bread, spread with jam and enjoy!
Tips and Tricks and Don’ts that I did
The yeast mixture should be frothy, but don’t freak out if it’s not a volcano of froth. Your dough will still proof just fine.
I proof my bread in the window of my kitchen because I like the idea of the warm Texas sun helping with my bakes, but you don’t need a window to proof and most ovens these days have a proof feature. Any warm place in your kitchen is fine and if you don’t have a proofing setting, you can set your oven temperature to the lowest setting and use that to proof.
Don’t forget to grease your loaf pan. You’ll want to take it out of the pan once it’s baked to cool. If it’s greased properly it should slide right out.
Slice and freeze the bread for storage. I made the mistake of just freezing the entire loaf, but when I wanted to toast a slice I had to wait for it to defrost before I could cut into it. After you slice the bread add a piece of wax paper in between each slice. Store it in a storage bag in the freezer and grab a slice when needed. Easy Peasy.
Be really careful not to get your sugar, water, lemon mixture too hot when making the jam. My first batch basically turned into lemon flavored caramel because I overcooked and overheated it. You only need to bring it to a boil, do not let it boil for an extended period of time.
Don’t worry about the rinds or zest when putting your jam into jars. The rinds get really soft and somewhat sweet during the cooking process and they taste pretty good too.
The jam will be runny. The consistency is pretty much like runny jello. Do not worry. Once it’s cooled it will firm up and when you jar it and put it in the fridge it will firm up even more.
I really like lemon flavor and wanted it to stand out more than the sweetness, but if you’d prefer less lemon flavor and more sugar, feel free to cut down the lemon juice and add more water and a tablespoon more of sugar.
This bread is perfect for this jam and this jam is perfect for this bread, but you can enjoy them separately too. Make a turkey sandwich with the bread or add the jam to your favorite english muffin. Whatever you do, don’t forget to ENJOY!