

I’m a warm-weather summer girl through and through, except for October. As soon as the calendar hits October 1st I get a case of fall fever. I love the Halloween costumes, candy, and make-believe; give me all the spiders, witches, ghouls, ghosts, and goblins. I love spooky decorations, haunted houses, scary movies, and stories. I love football season (RTR! and GPG!) and the (slight) change in seasons, from 100 degree days to barely making it to the 90s (it’s Texas, we take what we can get). I love absolutely everything about fall.
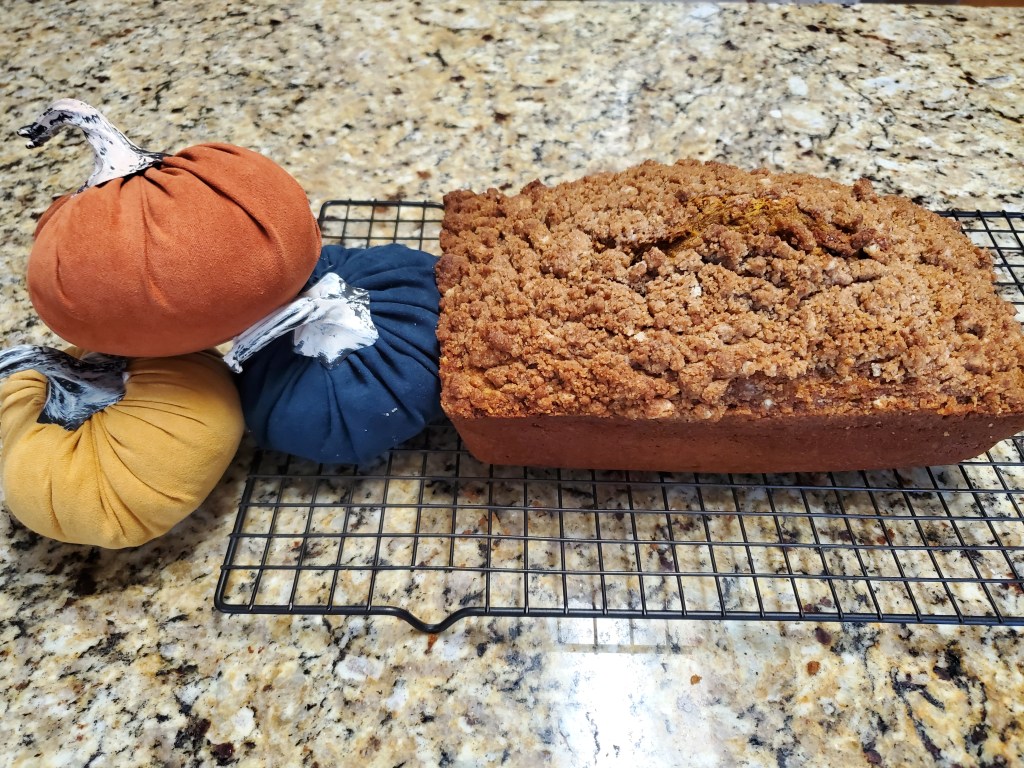
A few weeks ago we were at our local grocery store when we spotted several giant white pumpkins. They were the coolest pumpkins I’d ever seen, but it was still September and fall fever hadn’t set in yet. I was still holding on to the last days of summer as tight as I could. On October 1st when my switch flipped from Summer to Fall the first thing I did was pick up one of those giant white pumpkins. This week’s bake is inspired by my love for fall and the discovery of the Polar Bear Pumpkin.
For this recipe, I wanted to try and make a healthy pumpkin pie. A healthy pumpkin pie is as rare as a unicorn, but this one is pretty close. It’s gluten-free and low sugar, but not lacking in delicious pumpkin pie flavor. One taste tester said “Happy Thanksgiving” right after his first bite! It’s perfect to share a slice with one of your favorites or you can eat three slices by yourself with very little guilt. Below is my recipe for Gluten-Free Maple Pumpkin Pie along with my tips and tricks and don’ts that I did. Enjoy!

Ingredients for Gluten-Free Press in Crust
- 8 tablespoons of unsalted butter (1 stick), melted and cooled slightly
- 1 tablespoon of vegetable oil
- 1 teaspoon of ground cinnamon
- 1 teaspoon of brown sugar
- 1/4 teaspoon of fine salt
- 1 1/3 cups of gluten-free flour, plus more as needed
Ingredients for Filling
- 1 (15-ounce) can of pumpkin purée (not pie mix)
- 1 cup of heavy cream
- 1/2 cup of pure maple syrup
- 2 large eggs
- 1 tablespoon of ground cinnamon
- 1/4 teaspoon of ground ginger
- 1/4 teaspoon of ground nutmeg
- 3/4 teaspoon of fine salt
Ingredients for Streusel
- 1/4 cup of packed dark brown sugar
- 1/4 cup of gluten-free flour
- 1/3 cup of uncooked rolled oats (not instant)
- 1/4 teaspoon of ground cinnamon
- 1/4 teaspoon of ground ginger
- 1/8 teaspoon of ground nutmeg
- 1/4 teaspoon of fine salt
- 4 tablespoons of cold unsalted butter, cut into small pieces
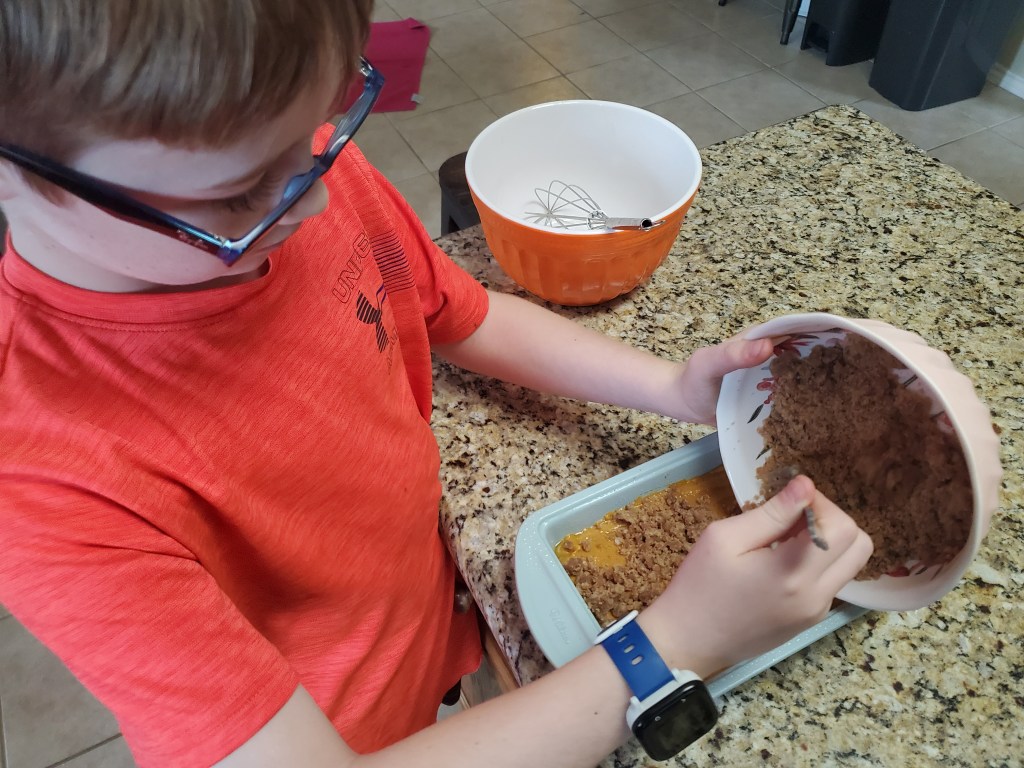
Directions for Gluten-Free Press in Crust
- Stir the butter, oil, sugar, cinnamon, and salt together in a medium bowl until evenly combined. Add the measured flour and stir until a soft dough forms.
- Sprinkle the dough in small clumps over the bottom of a 9 1/2- to 10-inch deep-dish pie plate. Using a measuring cup or your fingers, evenly press the dough into the bottom and up the sides of the plate (flour the cup or your fingers occasionally to prevent sticking).
- Cover with plastic wrap and chill in the refrigerator for at least 1 hour.
- Arrange an oven rack in the lower third of the oven. Place a baking sheet on the rack and heat the oven to 375°F.
- Make the filling
Directions for Filling and Baking
- Place all of the filling ingredients in a large bowl and whisk until smooth and combined. Set aside until the crust is chilled.
- When the crust is ready, pour the filling into it. Place the pie on the hot baking sheet and bake until the outer 2 inches of the pie are set, about an hour.
- Meanwhile, make the streusel.
Directions for Streusel
- Whisk everything except the butter in a medium bowl until combined. Add the butter and, using your fingers, squeeze the flour mixture and butter together until they form moist clumps and all of the flour is totally incorporated into the butter. Cover and place in the refrigerator.
- After the pie has baked for 60 minutes, remove it from the oven and sprinkle evenly with the streusel topping, breaking up any large clumps with your fingers as you sprinkle.
- Return the pie to the oven and bake until the streusel lightly browns and the filling is set, but still jiggles slightly in the center. About 40 minutes more.
- Remove the pie from the oven to a wire rack and let cool completely before serving.

Tips and Tricks and Don’ts That I Did
- This recipe makes a ton of filling and works best with a deep pie dish. I don’t have a one and ended up throwing some of the pie filling down the drain. Be sure to use a deep pie dish or be prepared to have left-over pie filling.
- I was a little nervous about trying a press-in crust. Making crust is one of my favorite things to do in the kitchen, but I wanted to try something new. The press-in crust was much easier AND tastier than I thought it would be. I’ll be making it for other pies again soon.
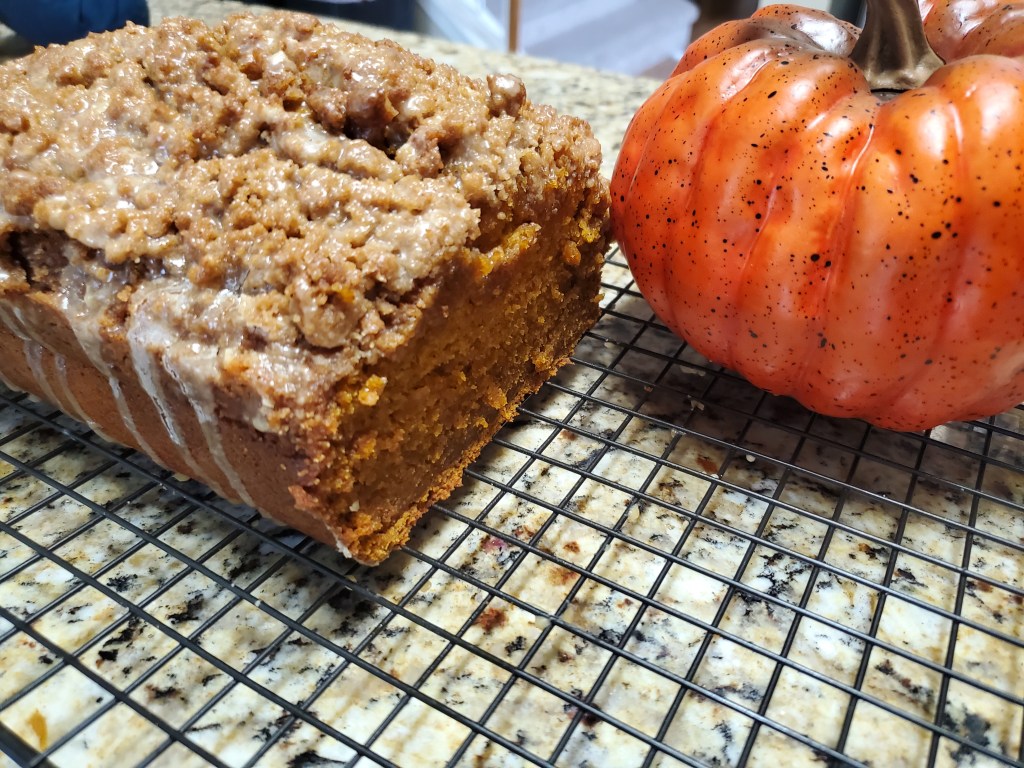
- Speaking of crust, gluten-free crusts are always a little more fragile than the traditional crust, especially the press-in kind. Don’t stress if your pie falls apart a bit when transferring it from pie dish to plate. It still tastes delicious.
- Be prepared for lots of recipe requests. This pie is the definition of all the things to love about fall.
- This pie can be stored in the refrigerator for up to 3 days, but I’m sure it won’t last that long.
- All tricks aside, this pie is such a treat you’ll want to make two; one for yourself and one to share with friends and family.
- As always, don’t forget to ENJOY!