One of my favorite things to do during the summer is soak up the sun at Barton Springs Pool in Austin TX. For this weeks blog I was dreaming of those warmer days by the pool and wanted to do a bake that was fresh and tiny but packed a huge flavor. The recipe below is easy, delicious and full of sunshine; one bite will make you feel like you’re poolside on a grassy hill soaking up the warm rays of summer. Don’t forget to keep reading to my dos and don’ts that I did to find out why this recipe might be the easiest bake I’ve ever made.
Ingredients
1 cup all purpose flour
1/3 cup sugar
2 tablespoons lemon zest, finely grated
7 tablespoons unsalted butter cut into cubes
1 egg yolk
3 teaspoons ice water
Ingredients for Glaze
1 cup powdered sugar
1/4 cup of fresh lemon juice
Directions for Cookies
In a large mixing bowl combine flour, sugar and lemon zest.
Cut in chilled butter using a pastry blender until mixture looks like coarse crumbs.
Add in egg yolk using a fork until blended.
Using your hands gently knead the dough.
Add ice water 1 teaspoon at a time and continue kneading the dough until a ball forms.
Once a ball has been formed cut the dough in half.
Roll each half into a log about 1 inch in diameter.
Wrap logs in plastic and allow them to chill in freezer for 30 minutes.
Preheat oven to 350 degrees.
Remove logs from freezer, unwrap and slice into 1/4 inch rounds using a serrated knife.
Place cookies on lined baking sheet and bake for 10 minutes.
Transfer to wire rack and let cool completely.
Directions for Glaze
Place powdered sugar into bowl and add lemon juice.
Whisk until smooth and syrupy.
Submerge cooled cookies into glaze top side down and return to cooling rack. Repeat this step 2 more times for a thicker glaze.
Tips and Tricks and a few Don’ts that I did
These cookies are so easy that the scariest part was rolling the dough. Even that part is as simple as playing with playdough. You literally just roll it on a lightly floured surface between your hands and the counter. Wrap it, freeze it and bake it. It could not be any easier.
You don’t have to make both logs if you’d like to save one. It can be kept in the freezer for at least a month, but trust me you’ll want to bake it sooner than that. These cookies may be small but they are addictive. I ate the first batch by myself in two days and only shared two. They are seriously that good.
Play with the flavor of the glaze. If you don’t want a punch of lemon flavor, you can add less juice to your sugar.
That’s it. Very few don’ts that I did and so simple I don’t have many tips or tricks. These cookies are tiny in size but mighty in flavor and incredibly easy. I’ll be eating these a lot this spring and summer. I hope you will be too! Enjoy!
I love living in a big city. I love the sites and sounds, the hustle and bustle, but most of all, I love the food. I love not knowing what you’re eating for dinner on a Sunday night and ending up in a random restaurant chowing down on a mediterranean buffet. It was in this restaurant that I had my very first baklava and the inspiration for this week’s bake. The tasty flaky treat was one of the best things I have ever eaten, or so I thought. The following week we found ourselves in another greek restaurant and I had another baklava that was even better. Every single element of that pastry from the crispy layers to the gooey honey sauce was amazing. I was in awe of this dessert and determined to learn how to make baklava at home. After several hours of research, a few videos and some history lessons the recipe below was born.
If the thought of making baklava seems a little daunting keep reading for my tips, tricks and don’ts that I did and you’ll see why it’s much easier than it looks.
Ingredients for Honey Sauce
1 cup of water
1 cup of sugar
1 and 1/2 cups of honey
1 tablespoon of orange extract
2 tablespoons of vanilla extract
1 teaspoon of ground cloves
Directions for Honey Sauce
Add water and sugar to medium sized pot and bring to a boil.
Stir until sugar has completely dissolved.
Turn heat down to medium and add honey slowly while stirring.
Add orange extract and ground cloves.
Continue to simmer for 20 minutes stirring occasionally.
Remove from heat and let cool.
Ingredients for Nut Mixture
6 ounces of finely chopped walnuts
6 ounces of finely chopped pistachios
6 ounces of finely chopped pecans
6 ounces of finely chopped hazelnuts
1 teaspoon ground cinnamon
1 teaspoon sugar
Directions for Baklava
1 package (16 ounces) of filo dough
Preheat oven to 350 degrees.
Add chopped nuts, cinnamon and sugar to bowl, mix together and set aside.
Melt butter in microwave.
Using a pastry brush, brush the butter on to a 9×13 in baking dish.
Add one sheet of filo and brush dough with a thin layer of butter. Repeat this step until you have layered 10 sheets of filo.
Add 3/4 cup of the nut mixture to the pan of filo.
Add five sheets of filo to the pan buttering in between each layer of dough.
Repeat the two steps above 3 more times.
Add 10 sheets of filo, buttering in between each layer and butter the top.
Here’s a breakdown of the order for the Baklava
10 buttered sheets of filo, 3/4 cup nut mixture
5 buttered sheets of filo, 3/4 cup nut mixture
5 buttered sheets of filo, 3/4 cup nut mixture
5 buttered sheets of filo, 3/4 cup nut mixture
5 buttered sheets of filo, 3/4 cup nut mixture
10 buttered sheets of filo, butter top of pastry
Using a sharp knife, cut pastry into squares and then the squares into triangles.
Bake baklava for 50 minutes or until golden brown and crisp on top.
Remove from oven and immediately pour the sauce over the entire pan.
Sprinkle remaining nut mixture over the top of the baklava.
Let sit and cool for a few hours before serving.
Delicious Easy Baklava
Tips and Tricks and a few Dont’s that I did
I mentioned before that this recipe is pretty easy, but it is a little more time consuming than other bakes. Don’t let that discourage you, it’s just building the layers that takes some time. It gets easier and faster each time you make it.
Make your honey sauce before you start building your baklava, giving it enough time to cool before adding it to the bake.
Filo dough is very very fragile. I recommend covering the dough with damp paper towels in between uses. Don’t worry if some of the filo tears during layering. You won’t be able to see it when the bake is complete.
Keep your butter hot. I melted mine in a microwavable safe bowl, boiled some water and sat the bowl in the hot water while I put together my baklava.
To avoid a soggy bottom, be sure to only brush a thin layer of butter to each filo layer.
Feel free to play with flavors with the sauce. I wanted a little more spice to my sauce for a traditional taste, but you can omit the cloves or add more if you like.
Speaking of flavors. I read several articles that said pistachios and walnuts are traditionally used in this dessert, but I also read a few that said hazelnuts and pecans are typically used. I love all of them so decided to use them all. Use whichever nuts you like, just make sure it’s at least 24 ounces finely chopped.
Don’t worry if your sauce is a little runny. It will thicken as it cools.
When cutting the pastry, try not to cut the bottom few layers. This will help hold the sauce and allow it to soak more into the pastry.
One of the best and most fun parts (besides the taste and saying the name) of making this dessert is the crackle of the baklava. When you hear the dessert crack while pouring the honey sauce over it you know you’ve made a perfect baklava!
This bake is best after it sits for at least 3 hours and even better the next day. This gives the pastry enough time to absorb the sauce and it gets that delicious sticky gooeyness you want in a baklava.
Baklava can be stored in the refrigerator or freezer and enjoyed later, but it’s best served at room temperature within a few days.
I say this with every bake, but this one is a favorite and probably the tastiest. One of my Mae Bakes taste testers and a self proclaimed baklava connoisseur told me this was the best baklava he has ever eaten. Don’t forget to share this with all of the dessert connoisseurs in your world; it’s too good not to.
This week it’s pastry week at Mae Bakes! I’ve watched a billion shows about making tarts and thought why not give it a whirl? I’m still on a lemon kick from jam week (I’m always on a lemon kick, my love for lemons runs deep) so I decided my first ever tart would be a lemon tart. Just to prepare you pastry is not easy, but it sure is rewarding when you get it right. Check out the recipe below and keep reading to my donts that I did to find out why the biggest mistake I made baking this week had nothing to do with the recipe.
Ingredients for Tart Pastry
1 1/4 cup flour
1/4 cup sugar
1/2 cup cold butter cut into chunks
2 egg yolks lightly beaten
1 tablespoon ice water
Directions for Tart Pastry
In medium bowl stir together flour and sugar. Using a pastry blender, cut in butter until pieces are pea size.
In a small bowl stir together eggs yolks and cold water.
Gradually stir in egg mixture to flour mixture.
Using fingers gently knead dough just until a ball forms.
Cover with plastic wrap and refrigerate for 45 minutes or until dough is easy to handle.
Preheat oven to 450 degrees.
On a lightly floured surface use your hands to slightly flatten pastry.
Roll pastry from center to edges into a circle about 11 inches in diameter.
Wrap pastry around rolling pin.
Unroll onto 9 inch tart pan that has a removable bottom.
Ease pastry onto pan without stretching it.
Press pastry into flattened sides of pan and trim edges.
Line pastry with double thickness foil and bake for 8 minutes.
Remove foil and bake for 6-8 minutes or until golden brown.
Cool on wire rack.
Reduce oven temperature to 350 degrees.
Tart Filling Ingredients
2 lemons
1/2 cup sugar
1 tablespoon flour
2 eggs
1 tablespoon vanilla
Tart Filling Instructions
Finely shred 4 teaspoons of lemon peel and set aside.
Squeeze lemons for 6 tablespoons of juice and set aside.
In a medium bowl combine sugar and flour.
Add eggs and beat with electric mixer on high speed about 4 minutes or until light in color and slightly thickened.
Stir in 4 teaspoons of lemon peel.
Add lemon juice and vanilla.
Pour into baked tart shell.
Bake at 350 for 20-25 minutes or until filing is set and lightly browned.
Cool on wire rack.
Serve and Enjoy!
Tips and Tricks and a few Don’ts that I did
Go slow when adding the egg yolk mixture to your flour. The first time I made this tart I dumped it in all at once and it affected the flakiness of my crust.
Don’t stress if your edges are a tad darker than the rest of your tart pastry. I researched for several hours, watched too many videos and read a whole bunch of tips about how to prevent burnt edges. About 98% of everything I read said to make a “shield” for your edges out of tin foil. I ended up tripling up the shields and my edges were still dark. Don’t let the color fool you, dark does not mean burnt. It still tasted amazing.
Do follow the time listed in the recipe and don’t over bake your tart. The instructions say until set. I missed that step and kept baking about 10 minutes longer than I was supposed to because I thought it wasn’t done. Even though my first one tasted fine, the second was AMAZING. Don’t forget, it’s not a cake it’s a tart, two very different textures.
And finally, one of the most important lessons I’ve learned so far on this adventure. Don’t take your bad day out on your bake (I like to refer to it as rage bake). I made the first tart when I was having an off day. Although I was doing something I loved to feel better I still rushed my bake and didn’t give it the attention I normally would have. The crust was not perfect, the texture wasn’t great and the taste was just okay. The second time I made it I took my time, put way more care into what I was doing and ended up enjoying the tart and the experience way more. The second tart was off the charts in every way (it’s been said it was my best bake yet). The crust was golden, the texture was beautiful and the taste was delicious. It may sound a little cheesy but I definitely think it had everything to do with how I felt while baking. I turned the first tart into a learning experience (mainly learning not to rage bake), but like I’ve said before, the more you bake the better you get. I’ve included a picture below to show you the differences in the two bakes.
The first one is the rage bake and the second is the calm and collected bake.
Don’t forget to ENJOY (the bake AND the experience)
This week’s bake is the bake that made me fall in love with baking. Before this pie the only pie I knew anything about was the kind you buy from the grocery store. Then one day my kids school asked for volunteers to bake pies for their teachers for the holidays and for whatever reason I decided right then I could bake not just one pie but 3 delicious apple pies…. from scratch. After a few days of research, recipe recommendations and one temper tantrum (basically I had a moment where the idea of baking a crust scared the crap out of me and I had to be talked down from that ledge) the pie recipe below was born.
I’ve also included a few tips and tricks and my don’ts that I did at the bottom of the recipe. Enjoy!
Ingredients for Double Crust
2 cups of all purpose flour
1/2 teaspoon of salt
2/3 cup of butter
1 tablespoon of white vinegar
5-6 tablespoons of 2% milk
1 egg white whisked plus 1 tablespoon of water
1 tablespoon granulated sugar
Ingredients for Apple Pie Filling
5 cups of thinly sliced apples (about 10 large apples)
3 tablespoons of sugar
3 teaspoons of cinnamon
1/4 teaspoon of salt
Directions for Pie Crust
In a small bowl, combine the flour and salt.
Cut in shortening until mixture is crumbly.
Sprinkle with vinegar.
Gradually add milk, tossing with a fork until a ball is formed.
Cover with plastic wrap and refrigerate for 30 minutes or until easy to handle.
Directions for Apple Pie Filling
Peel and thinly slice your apples.
In a medium bowl combine sliced apples, sugar, flour, cinnamon and salt.
Toss gently to combine well.
Putting it all together
Divide dough into 2 portions, 1 slightly larger than the other.
Roll out larger ball on a lightly floured surface to fit 9 or 10 inch pie plate.
Add Apple Pie filling to uncooked pie shell.
Roll out remaining pastry to fit top, trim and flute edges.
Cut slits in top for venting.
Mix the egg white and water in a small bowl and brush over the pie.
Sprinkle with granulated sugar.
Bake at 450 degrees for 15 minutes, then reduce heat to 400 degrees and continue cooking for an additional 30-40 minutes or until top is golden brown.
Tips and Trick and Don’ts that I did
For the apples I used half granny smith and half fuji, but you can use any type you’d like. I liked the tangy sweet combo of those two together, but there are so many kinds of apples you can mix and match several different combinations.
I used a potato peeler to peel my apples, it works perfectly.
When adding the apple filling, be sure to layer your apples and not just dump them in the shell. It helps to evenly bake your apples. I’ve included a picture below to show you how I layered.
Don’t be afraid to foil your edges when baking your pie. It’s kind of a pain, but worth it. I burned the edges a little on my first one because I wasn’t sure exactly how to foil and was too afraid to try. I found that cutting four strips of foil and doing it in sections worked best for me. Be careful not to burn yourself and make sure to foil before they get too brown (about half way through the bake).
My recipe has an extra teaspoon of cinnamon, but if you’d like a sweeter pie you can add just 2 teaspoons instead of 3.
I had no idea what “cut in the shortening” meant when I started baking. It just means to add cold butter to your dough. I found that the best way to do this is with a fork and your hands. Be careful not to handle the dough too much. The key to a flaky crust is cold butter.
I also had no idea how to make slits in a pie. The purpose is to allow the steam in the pie to be released during the baking process. The slits are basically vents. Start with a circle in the middle and then add slits however you’d like. Have fun with it. I added some dough leaves to my pies but there’s a million things you can do. Don’t be afraid to be creative!
Don’t throw a temper tantrum if this recipe seems hard. Trust me, if I can do it anyone can do it. And if you mess up, try again. My first pie was far from perfect, but the second and third turned out pretty great. Baking is like everything else, the more you do it, the better you get.
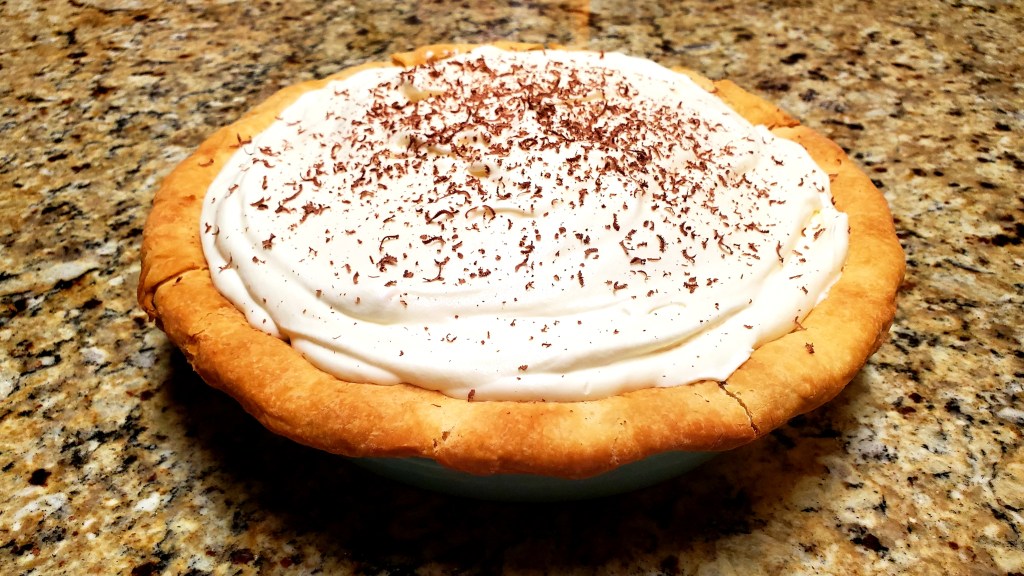
For Christmas this year I gifted myself a new mixer and thought making a mousse would be a perfect way to test it out. So for my first bake and blog of the New Year I made one of my favorites, a Chocolate Mousse Pie.
This was the first time I did a blind bake with my crust too so I wanted to make sure I got the crust perfectly flaky and absolutely did not want a soggy bottom. This meant I needed to do my research and lots of it. I spent a few hours online reading various recipes and reviews about the perfect way to blind bake a pie crust. There is a ton of information out there about the best options, from pie weights to uncooked rice and beans and more in between. Ultimately I decided to go with sugar because I had sugar on hand and it had great reviews from fellow bakers.
Below is the recipe for the chocolate mousse, the crust, the blind bake and how to put it all together for a delicious light and fluffy New Year Treat. I’ve also included my tips and tricks and don’ts that I did at the end.
Ingredients for Single Pie Crust
1 cup all purpose flour
1/4 teaspoon salt
1/3 cup butter
1 and 1/2 tablespoons white vinegar
4 tablespoons 2% milk
Directions for Pie Crust
In a small bowl combine the flour and salt.
Cut in butter with fork until the mixture is crumbly.
Sprinkle mixture with vinegar.
Gradually add milk tossing with a fork until a ball is formed.
Cover with foil and refrigerate for 30 minutes until easy to handle.
Blind Baking Your Crust
Once the dough is chilled, roll out pastry on a lightly floured surface to fit 9 inch pie plate.
Crimp edges a little taller than the pie plate so there is less room to shrink.
Line crust with heavy duty aluminum foil.
Freeze crust for at least an hour.
Once the crust has had time to freeze, preheat oven to 350 degrees.
Fill pie to the top with granulated sugar.
Bake for 60-75 minutes.
Remove pie crust from oven.
Remove sugar and store sugar for later use.
Let crust cool and prepare mousse.
Ingredients for Mousse
4 cups heavy cream
6 tablespoons of sugar
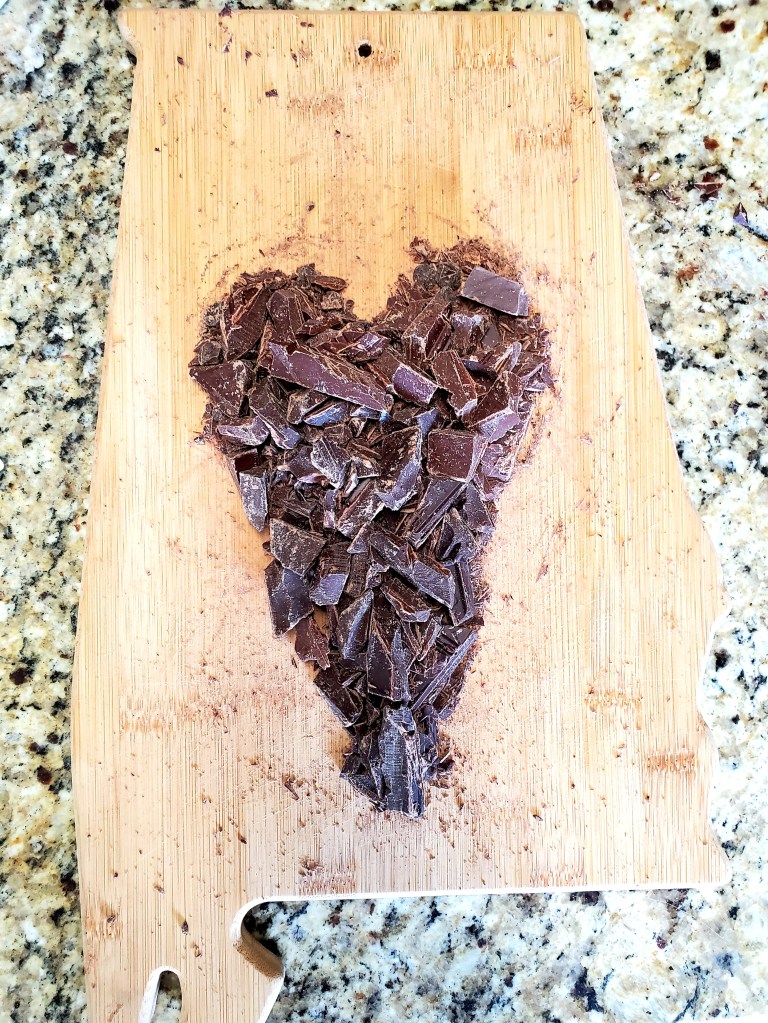
12 ounces semi sweet chocolate chips
1 teaspoon vanilla extract
Directions for Mousse
With stand mixer beat 3 cups of heavy cream and sugar to stiff peaks (about 6-8 minutes) refrigerate until ready to use.
In a medium saucepan combine 1 cup of heavy cream, chocolate chips and vanilla.
Place over medium heat, stirring constantly to avoid burning the chocolate.
Once the chocolate has melted (about 2-3 minutes) remove from heat and let cool.
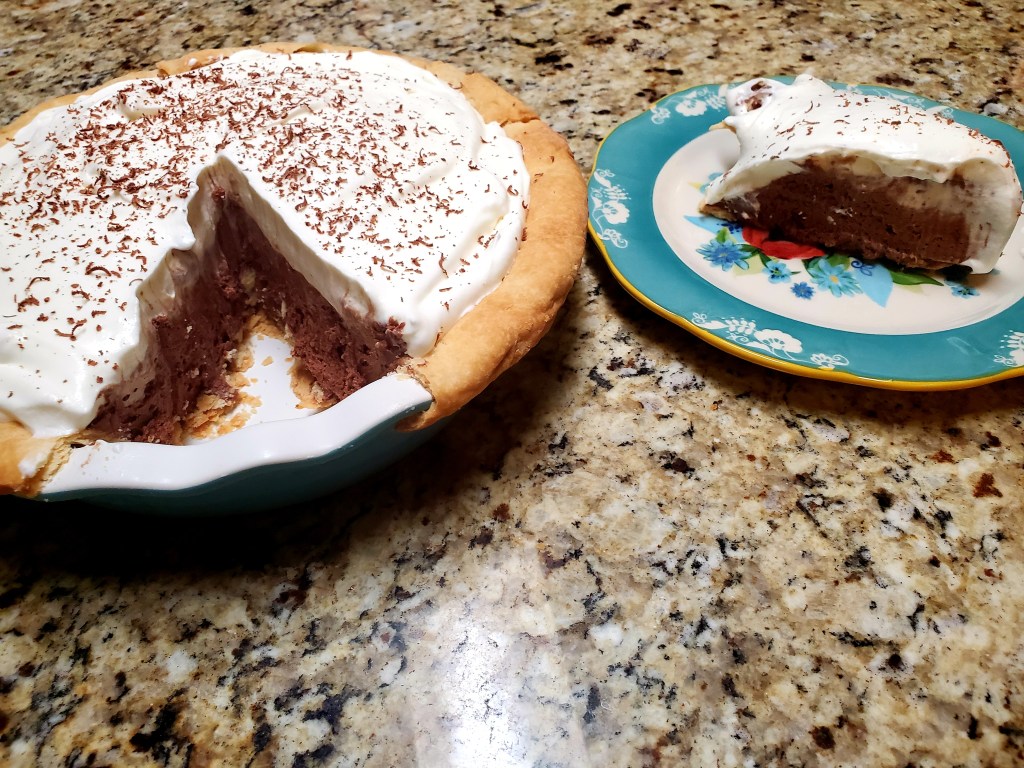
When chocolate has cooled, gently fold it into 2 thirds of the whipped cream until completely incorporated
Putting It All Together
Pour mousse into prepared crust.
Refrigerate for 8 hours or freeze for 4
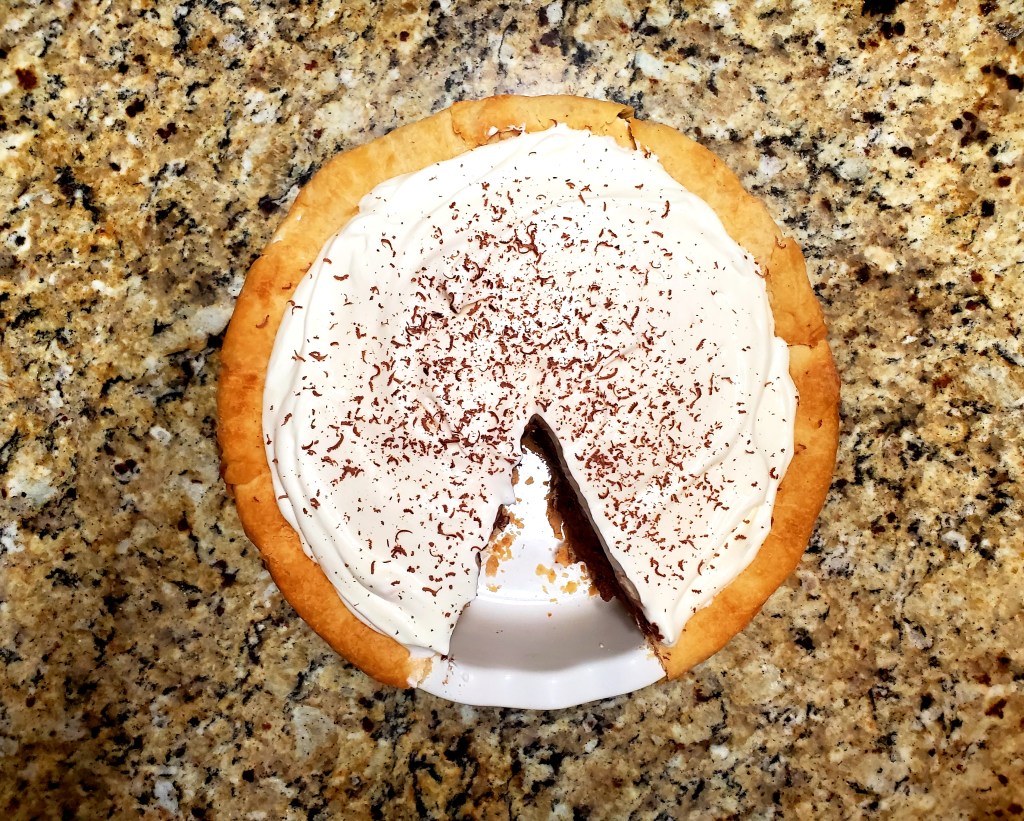
Top with remaining whipped cream and serve.
Tips and Tricks and a Few Don’ts That I did
Don’t be afraid to get your hands dirty when making the crust. I found that in order to cut in the butter to the flour my hands worked better than the fork.
That being said be careful not to handle the dough too much. Overworking the dough will cause it to become tough and not tender and flaky. The key to a good pie crust is cold butter.
One mousse recipe I tried said to add salt to the semi sweet chocolate. Whatever you do, DO NOT add salt to semi sweet chocolate. That type of chocolate has a saltiness to it already and adding more salt made it inedible. It was AWFUL. I ended up throwing out the entire thing and starting over minus the salt. It turned much much better.
I’ve given this tip before, but it’s worth repeating. Do not stop stirring your chocolate. It melts and burns really fast. I use a rubber spatula to stir and scrape the bottom of the pan. It works great and so far I haven’t burned a batch of chocolate. **knock on wood**
A stand mixer is awesome to achieve quick peaks, but it isn’t necessary. I’ve made whipped cream with a hand mixer and it turned out just as great.
Freeze or refrigerate your pie, but make sure it’s served cold. I froze mine to share later this week. If you freeze it just be sure to take it out of the freezer at least 30 minutes prior to serving so the crust has time to thaw a little.
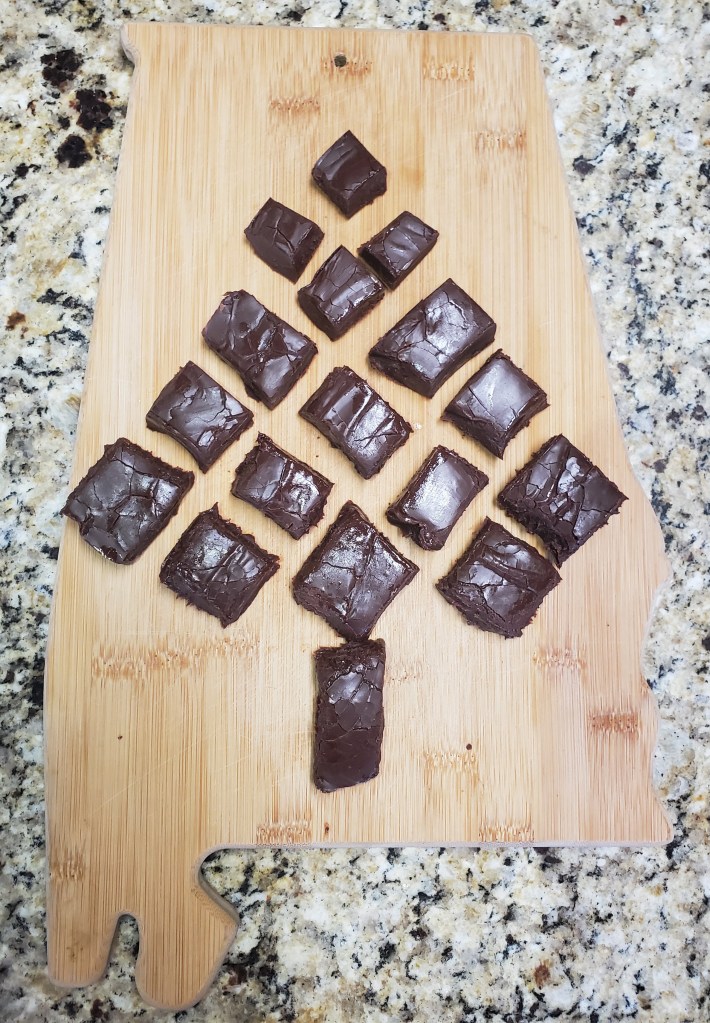
Christmas is the season for lots of sweet treats, especially FUDGE. I’ve never made fudge and was actually pretty intimidated to even try. Fudge is one of my most favorite treats and I had one of the best ones I’d ever eaten earlier this year so making it myself… from scratch… seemed impossible. I quickly learned that it was very possible and actually really simple.
While researching recipes I had an idea to use three different chocolates to offset some of the sweetness. The fudge turned out great and tasted exactly like I’d hoped it would. The fudge takes less than 10 minutes to make and 2 hours to set. Your family, friends and even Santa are sure to enjoy this tasty treat on Christmas Day.
Ingredients
1 cup dark chocolate (45% cacao) (chopped)
1 cup semi sweet chocolate (55% cacao) (chopped)
1 cup bitter sweet chocolate (65% cacao) (chopped)
14 oz sweetened condensed milk
1 tablespoon pure vanilla extract
2 tablespoons butter
1/4 teaspoon of salt
Directions
Line 8 or 9 inch pan with parchment paper
Melt all ingredients on medium/low heat in medium saucepan
Stir until smooth
Pour into prepared pan
Refrigerate for 2 hours
Cut into squares and enjoy!
Tips and Tricks and a few Don’ts that I did
Play with the flavors. My kids and I really like dark chocolate so I wanted to have it in this fudge. If dark isn’t your thing feel free to skip and add more bitter or semi sweet.
Don’t get impatient. Fudge needs time to set. The 2 hours is a minimum. I got a little antsy and cut into mine before 2 hours and it was too soft. The fudge was still delicious, but it needed more time in the fridge.
Chopping the chocolate is really important. You can skip it, but it will take your fudge longer to melt and I think it helps achieve the smooth consistency you want for fudge.
Don’t stop stirring. I repeat, whatever you do, do not stop stirring. Chocolate burns really really fast. It takes less than 5 minutes for everything to come together and the last thing you want is burnt fudge. YUCK!
Speaking of stirring, use a rubber spatula and don’t forget to scrape the bottom of the pan while stirring.
Pack it in treat bags and share with your friends and family. You can also freeze to share later.
You CAN eat the entire pan yourself too. It’s Christmas after all!!
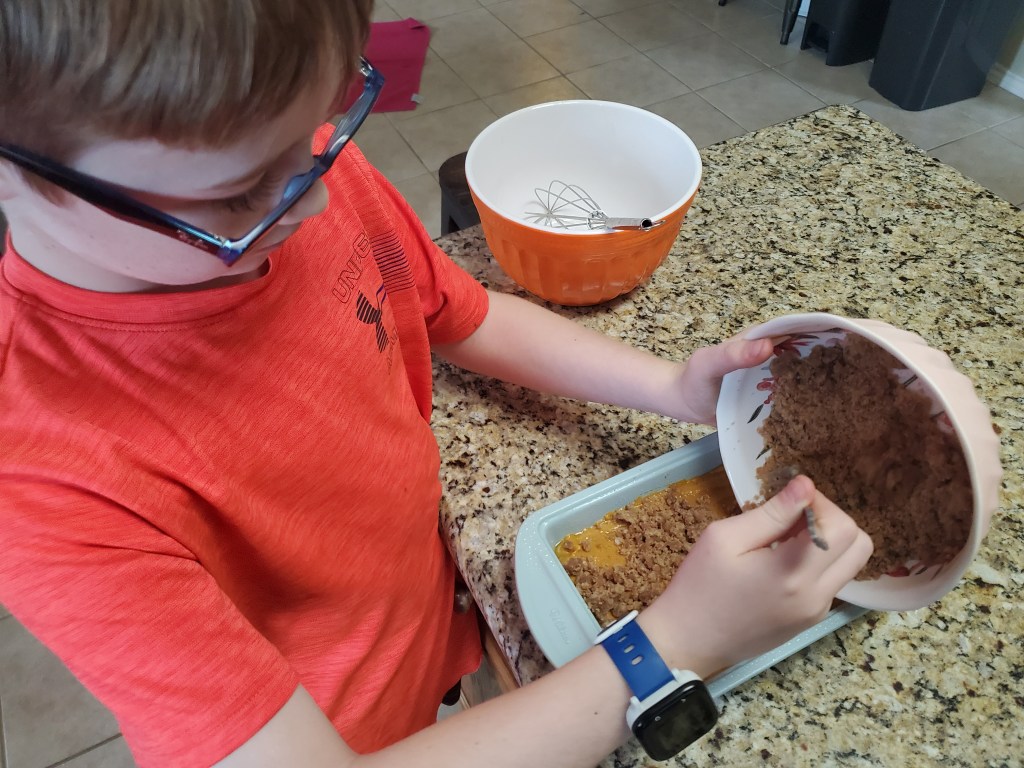
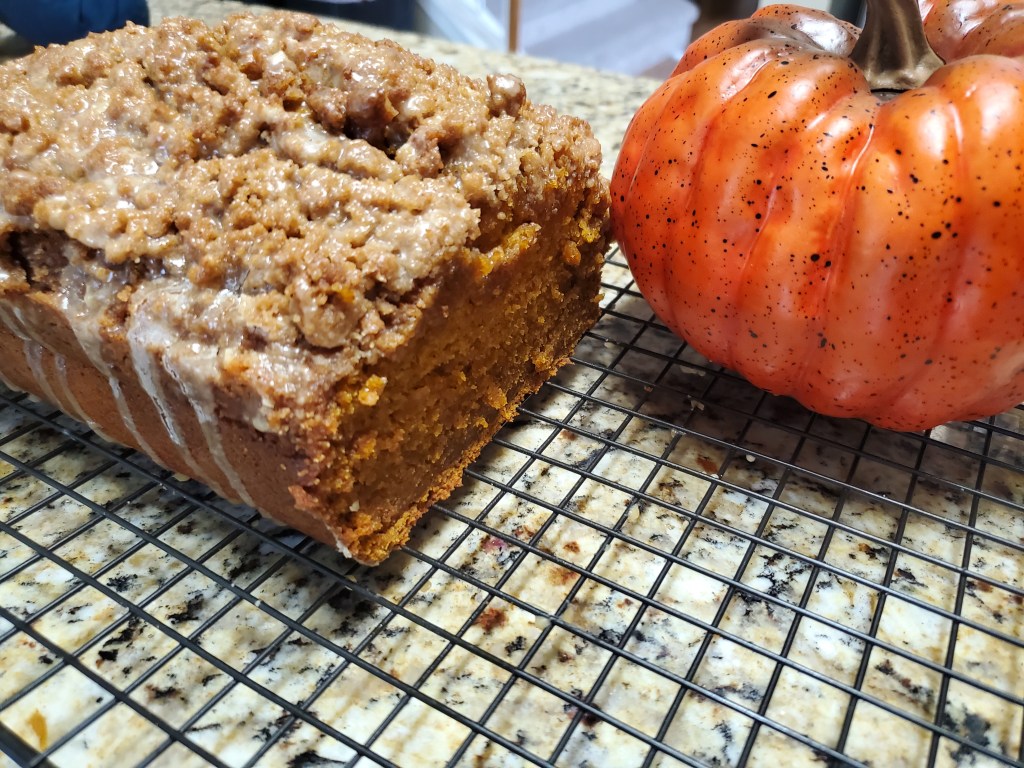
Have you ever had Pumpkin Bread? I was a newby until my son had his school Thanksgiving Lunch last week. The one thing about his school lunch that he could not stop talking about was the PUMPKIN CAKE! I later found out that it’s really called pumpkin bread. We’ll call it both because it’s sweet like a cake, but looks and cuts like a loaf of bread. When Clark (my oldest) asked if I could learn how to bake pumpkin cake for our Thanksgiving, I couldn’t say no. Despite the bar being set super high I think we knocked this one out of the park. Below is the recipe with a few tips.
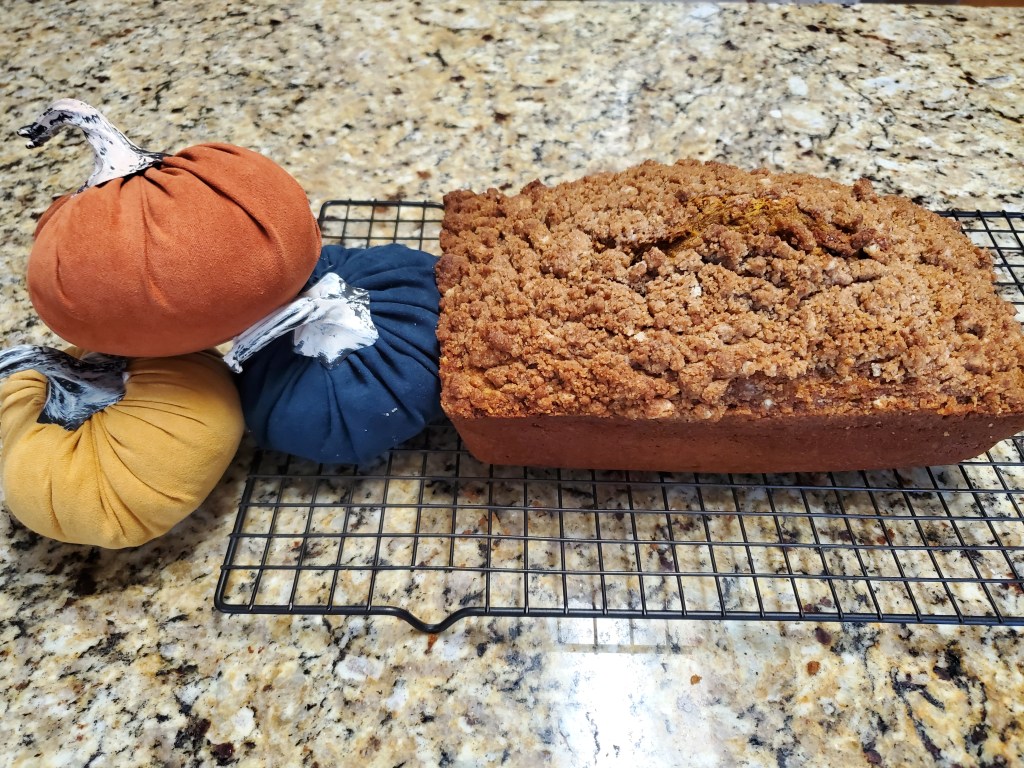
Pumpkin Cake Bread with Brown Sugar Topping
Brown Sugar Topping– 1/4 cup melted butter, 1/2 all purpose flour, 1/4 cup brown sugar, 2 tablespoons granulated sugar, 1/2 teaspoon pumpkin pie spice
Pumpkin Bread– 1 15oz can of pure pumpkin puree, 1 cup granulated sugar, 1/2 cup brown sugar, 1/2 cup vegetable oil, 2 large eggs, 1/2 teaspoon vanilla extract, 1/2 cup milk, 2 cups all purpose flour, 1 teaspoon baking soda, 1 teaspoon cinnamon, 1/2 teaspoon pumpkin pie spice, 1/2 teaspoon salt
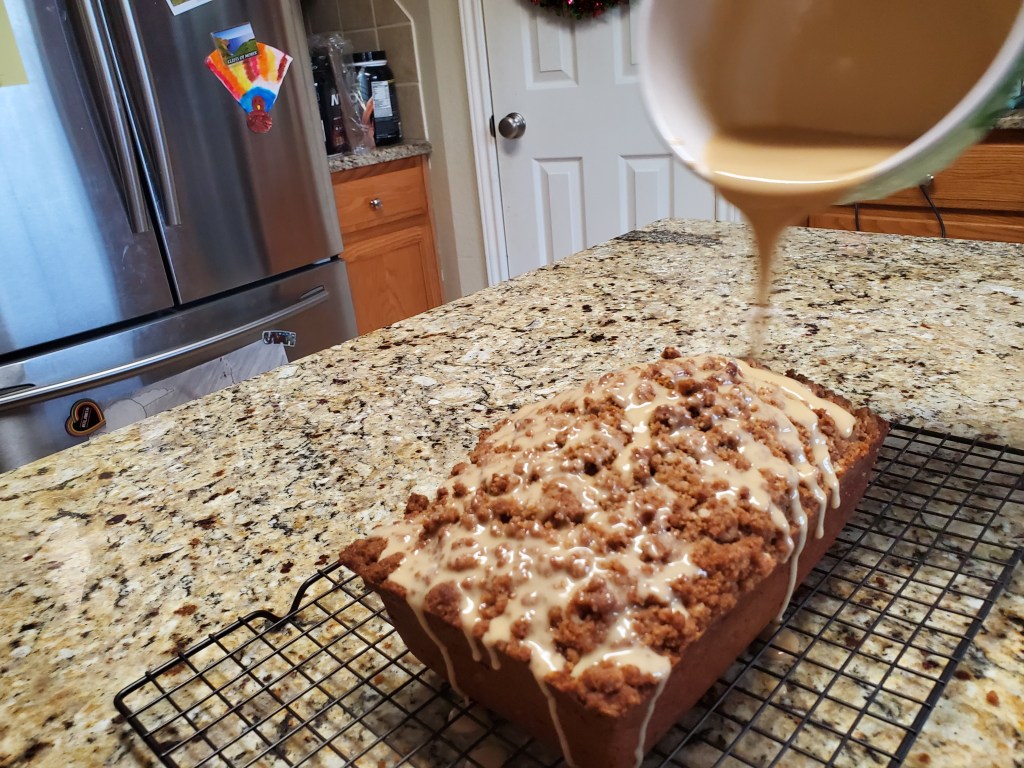
Maple Syrup Glaze– 1/2 cup powder sugar, 1/4 cup pure maple syrup
Brown Sugar Topping Instructions-in a small bowl mix all ingredient, store in refrigerator while making pumpkin cake bread.
Pumpkin (Cake) Bread Instructions– Preheat oven to 325F and butter the sides of a 9×5 loaf pan. Line with parchment paper. In a medium sized bowl whisk together flour, salt, baking soda, cinnamon and pumpkin spice. Set aside. In a separate larger bowl using an electric mixer; mix together oil and pumpkin puree until combined. Mix in half of the dry ingredients and add the milk. Add the rest of the dry ingredients and mix until smooth. Pour in pan and spread evenly. Remove brown sugar topping, break up with a fork and sprinkle evenly over the top of the cake. Bake for 1 hour and 20 minutes or until a toothpick in the middle comes out clean.
Maple Syrup Glaze– Mix together sugar and maple syrup. Pour glaze over loaf while the loaf is still hot. Let the bread cool for 20 minutes before serving. VIOLA! Pumpkin Cake Bread!
Tips, Tricks and a few Don’ts that I did– 1. Whatever you do, DO NOT forget to line the pan with parchment paper. I skipped it thinking it wouldn’t matter since I “buttered” my pan, but it’s a loaf… with a topping. Dumb Dumb move by me because the parchment is what helps get the loaf out of the pan. Otherwise you have to dump it… LITERALLY. I ended up making a giant mess, but learned a valuable lesson. 2. The brown sugar topping is probably the best part for the kids to help. My boys usually get bored with baking, but once I gave them some forks to break up the sugar and sprinkle on the loaf they were in HEAVEN. 3. Don’t be scared. It sounds really hard, but this is by far the easiest bake I’ve made. And maybe even the tastiest. 4. The bread will last for 10 days if stored in the fridge. Wrap it in foil or store in plastic containers and reheat for 10-20 seconds in the microwave. I promise it tastes freshly baked even out of the microwave. 5. ENJOY!